It has come to my attention that there are people out there
who don’t like pumpkin pie. I’m not sure I know any personally, but assuming
it’s true, what do you offer them for dessert on Thanksgiving?
Chocolate is a common default, but it hardly seems seasonal
enough. It also doesn’t celebrate America’s agricultural bounty, in the spirit
of Thanksgiving. Cocoa beans aren’t grown here, and you probably won’t see
Hershey bars stuffed into a cornucopia centerpiece.
You could make yet another version of Apple Something-or-Other, but it’s so easy to
apple yourself to death between September, when the new crop arrives, and the
end of November.
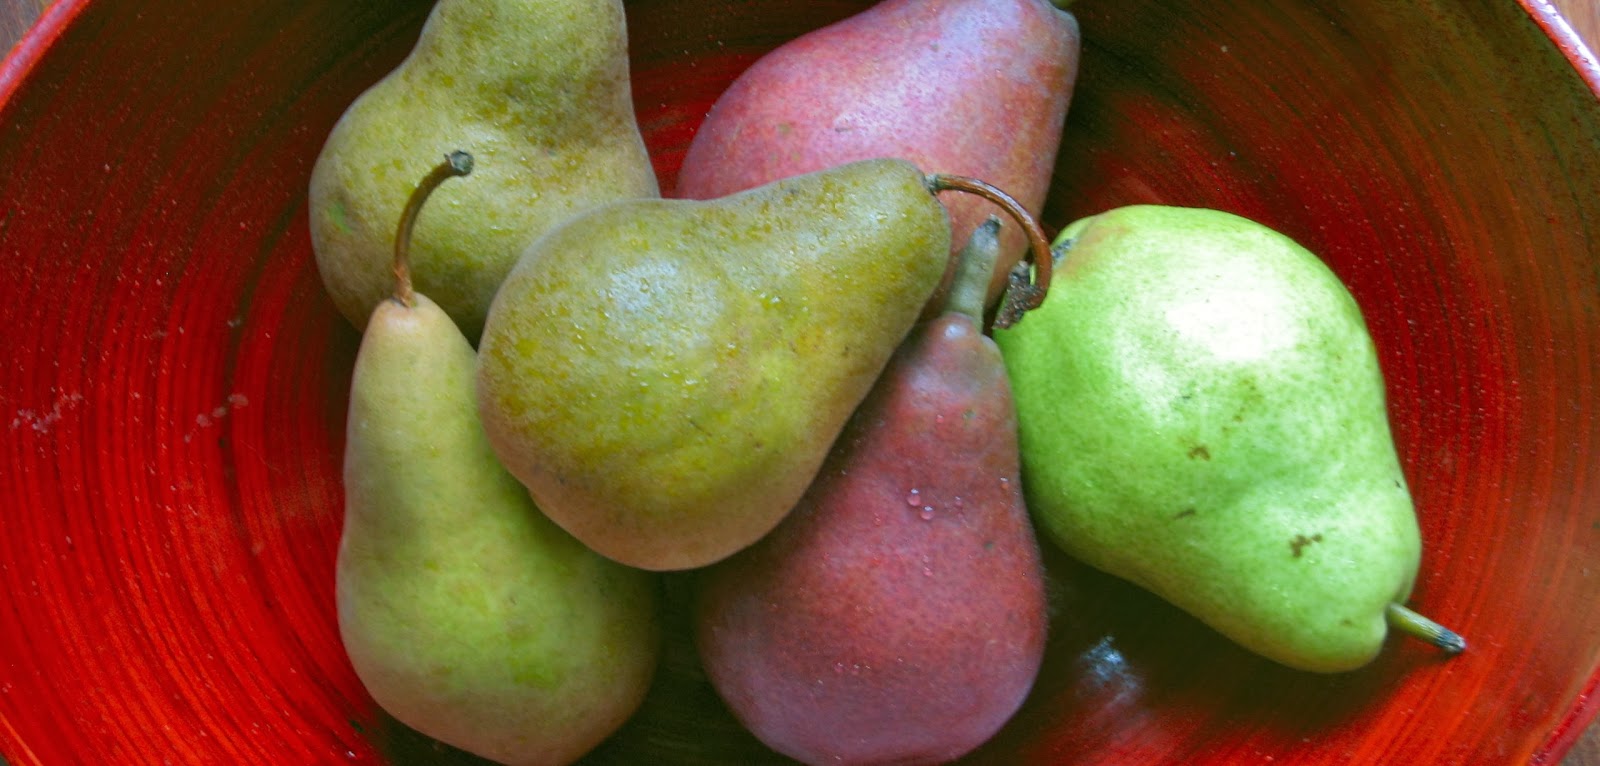
So what about pears? Are
they fall’s forgotten fruit?
While we’re all tripping over ourselves to go apple picking
and pumpkin patching, no one is eating pears. Per capita every year, we eat around
14 more pounds of apples than pears. Pears are just as American as apple pie. (Most are grown in Oregon, Washington, and California.) They're no more difficult to prep or cook than an apple, and they play nicely with all those warm spices we like to put
in everything from coffee to cronuts at this time of year. So, why avoid them?
Several years ago, while searching for a fall dessert that
was a bit flashier than pumpkin pie, I found this recipe in Sunset magazine.
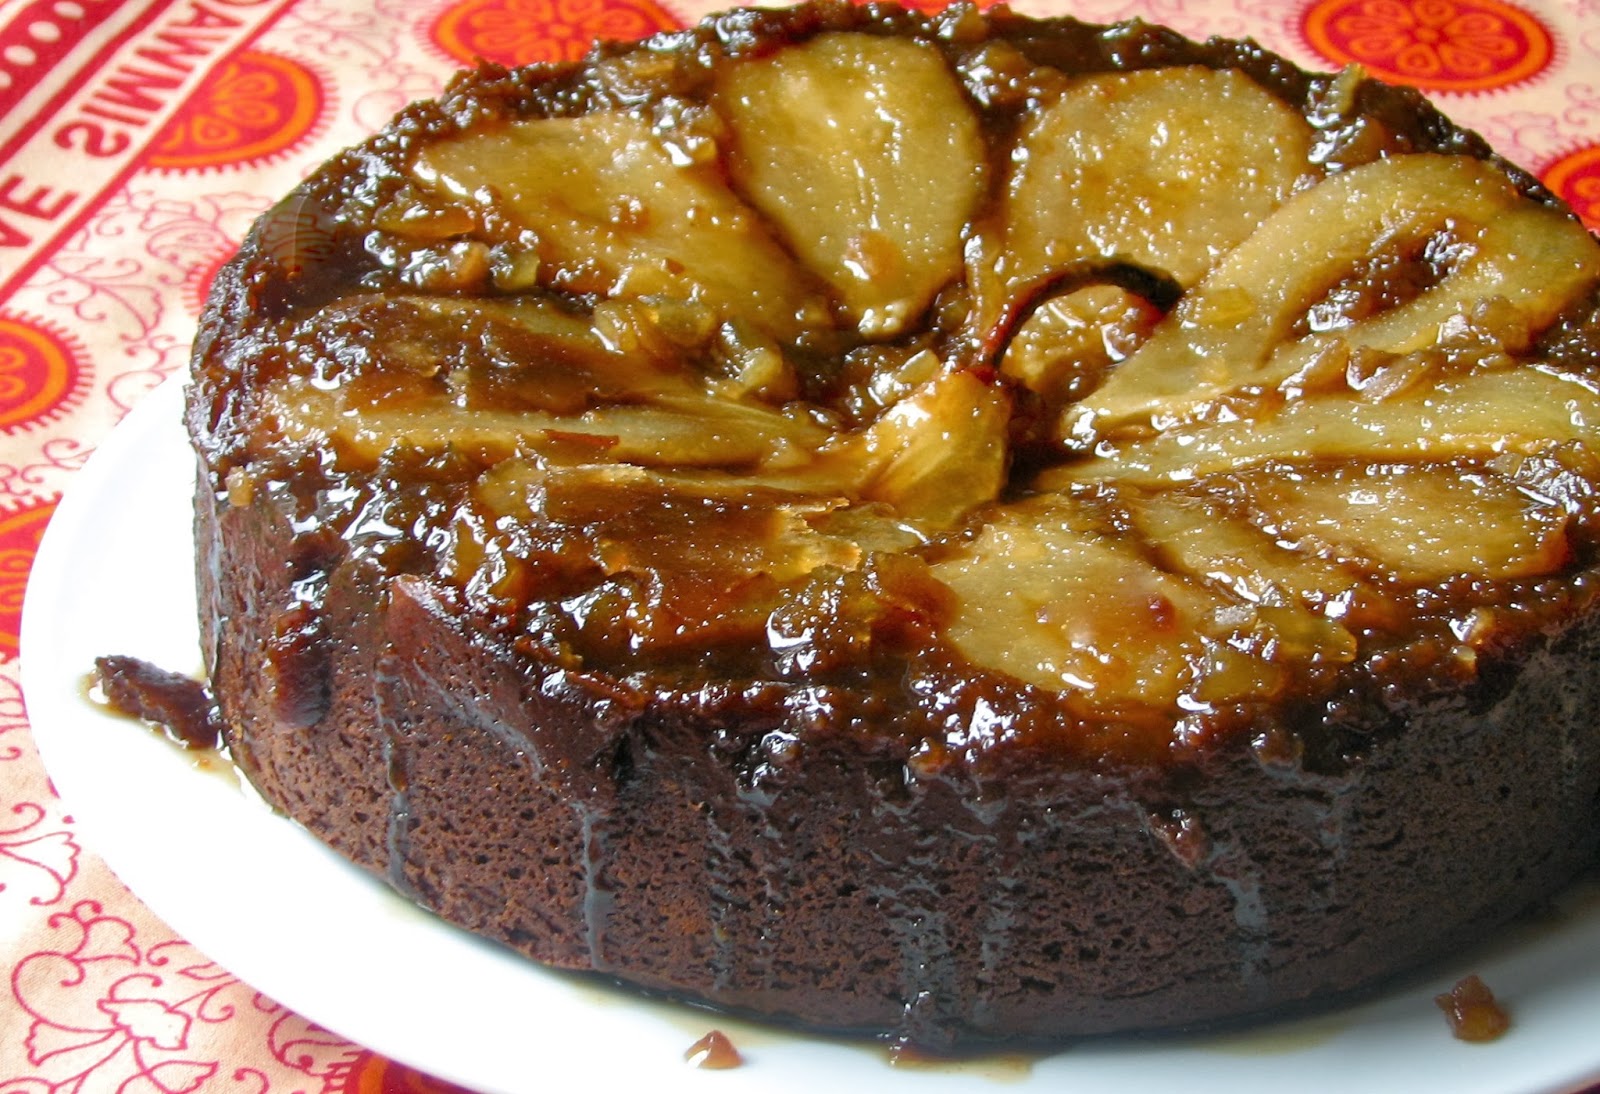
It’s a spicy, sticky, brown-sugar-glazed amalgam of two American favorites
— gingerbread and upside-down cake
— and it really tastes like fall.

Pear and Ginger Upside-Down Cake
2 tablespoons plus ½ cup butter, at room temperature1½ cups firmly packed brown sugar
3 tablespoons chopped crystallized ginger
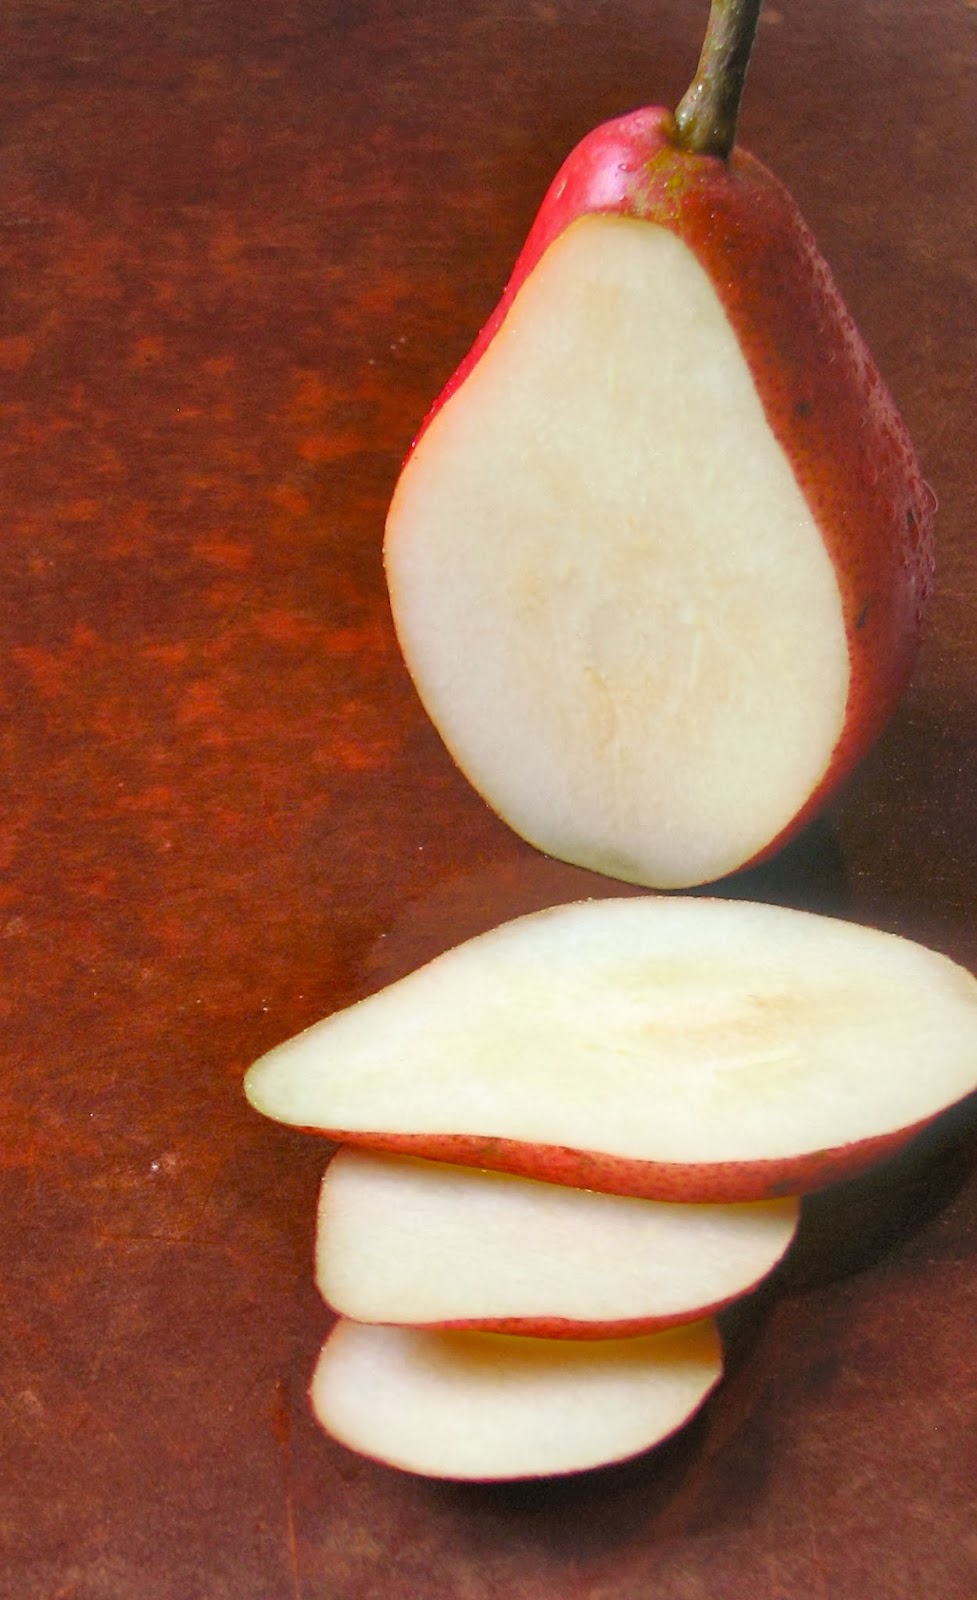
2 firm, ripe pears
2½ cups all-purpose flour
2 teaspoons baking powder
1 teaspoon baking soda
1½ teaspoons ground ginger
1 teaspoon ground cinnamon
½ teaspoon salt
¼ teaspoon ground allspice
2 large eggs
¾ cup dark molasses
1¼ cups buttermilk
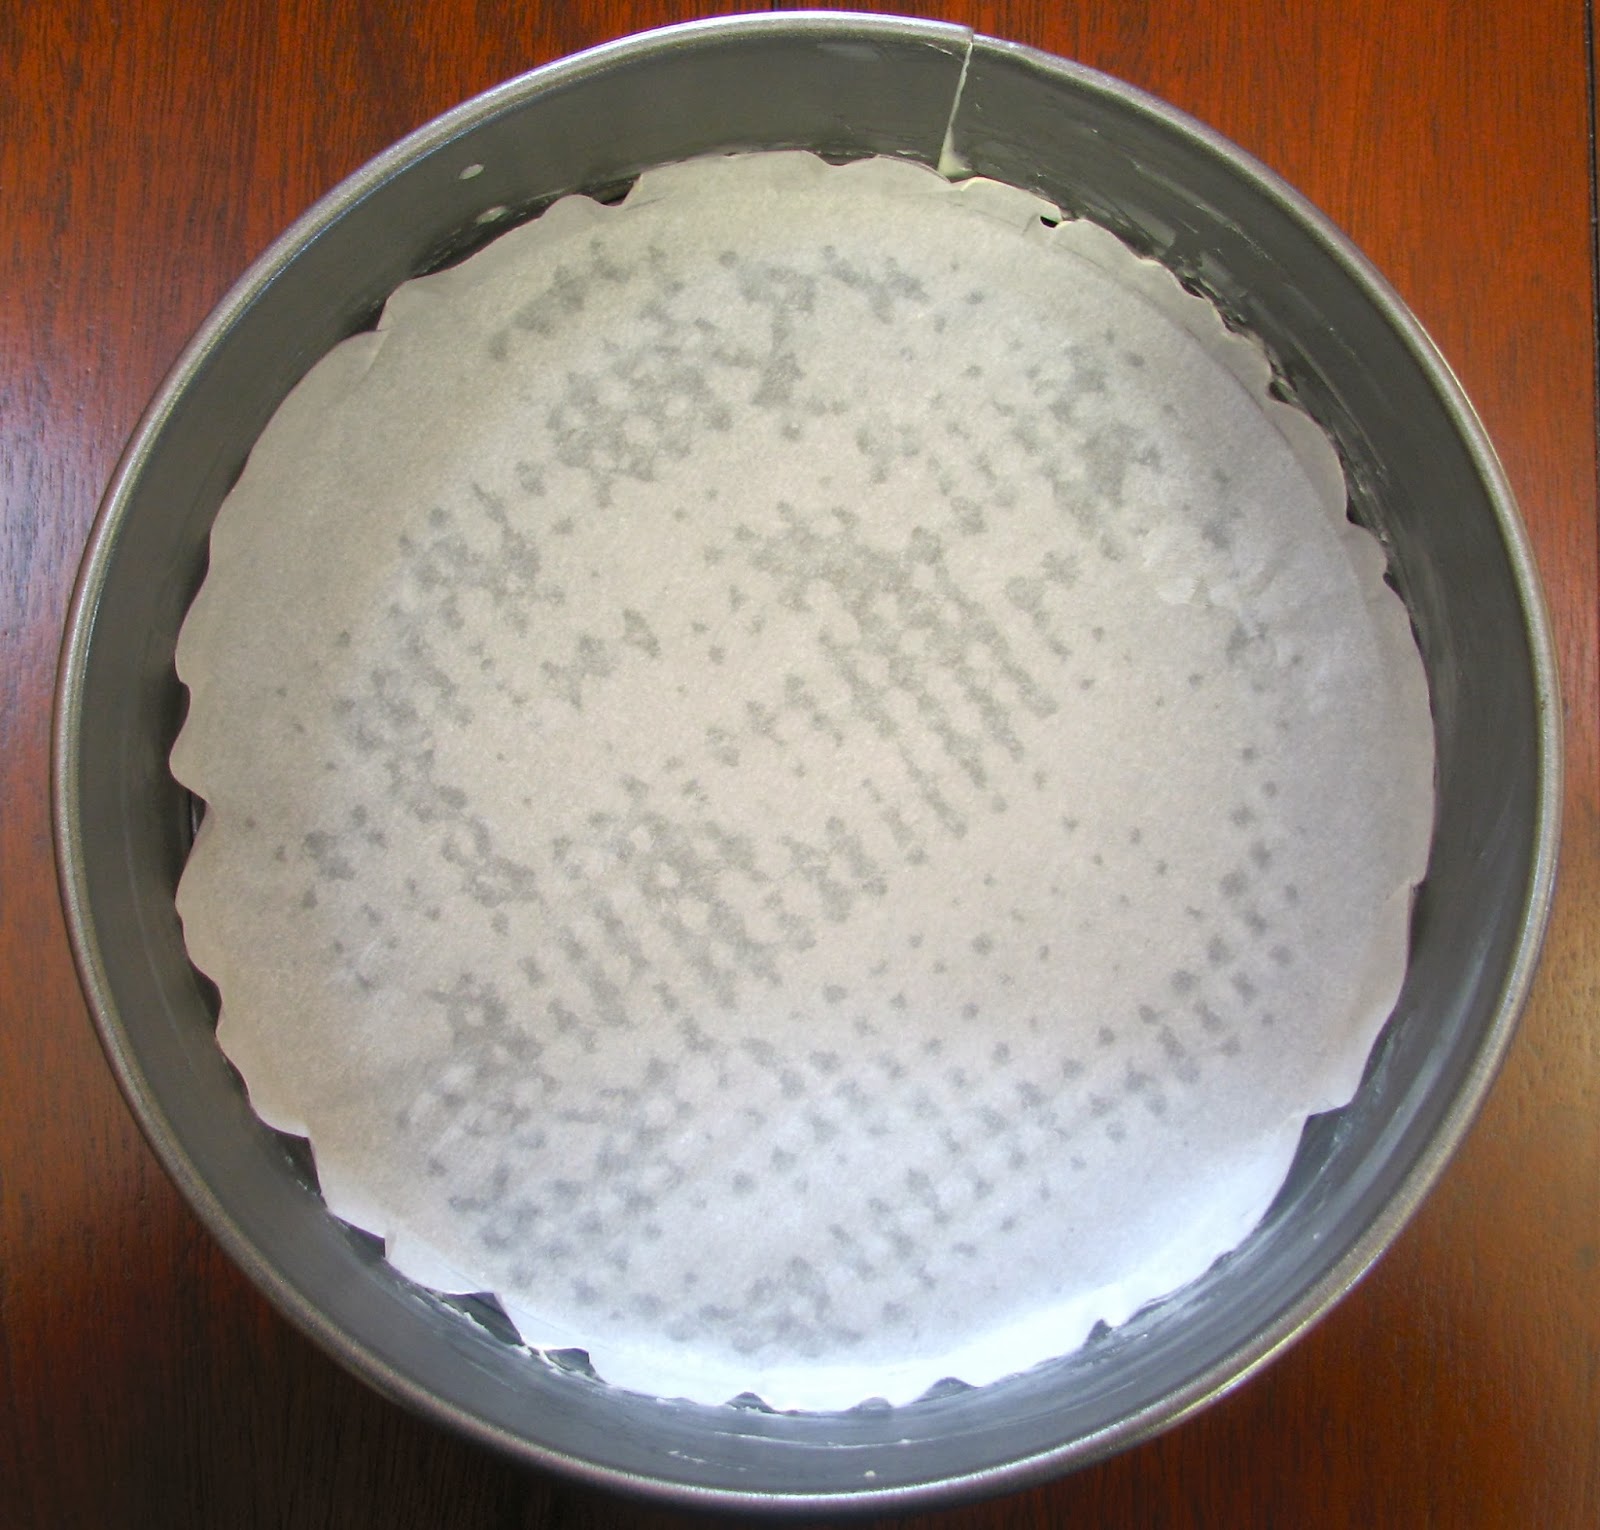
Lightly
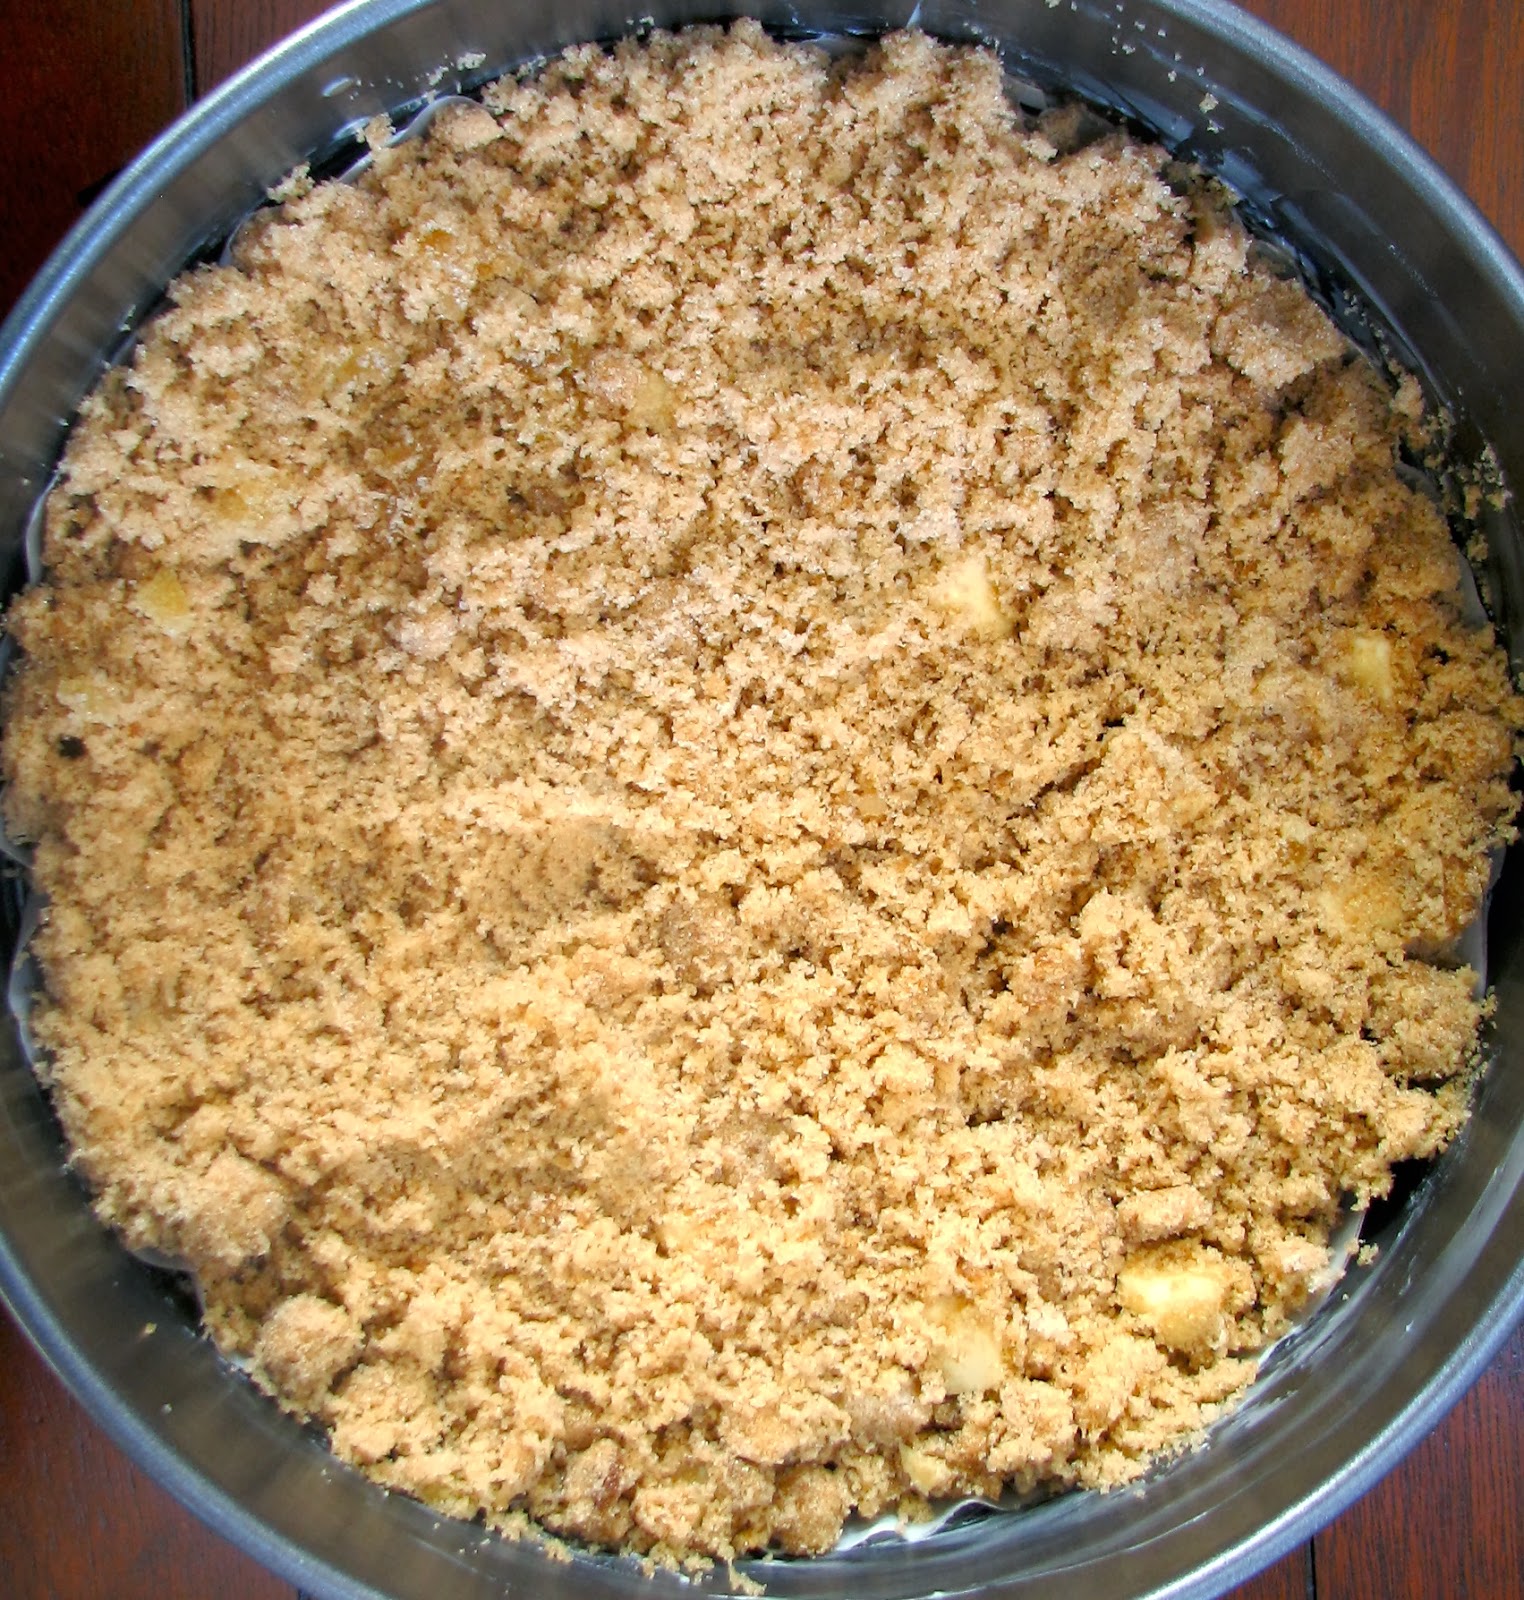
butter a 9-inch cheesecake pan that has a removable rim and is at least 2½ inches tall. Line the pan with a 10-inch round of cooking parchment, pressing it into the bottom and about ½ inch up the sides. Cut 2 tablespoons of butter into about ¼-inch chunks and drop them evenly over parchment in the bottom of the pan. Sprinkle evenly with ½ cup brown sugar
and the crystallized ginger.
Peel the pears and cut them in half lengthwise. Then, slicing parallel to the cut
edge, cut them into ½-inch-thick slices (although, they work just fine cut in a ½ inch dice, too, if that's easier for you). With a small knife, cut the core from the center slices. Arrange the slices flat, in a single layer, over the sugar mixture in the pan,
trimming pieces as needed to fit. Don't worry how it looks at this point. Once that brown sugar, candied ginger, and batter start bubbling together and up through them, the finished product will look just fine.

In a small bowl, whisk together the flour, baking powder, baking soda,
ginger, cinnamon, salt, and allspice.
In another bowl, with an electric mixer on medium-high speed, beat
remaining ½ cup of butter and 1 cup of brown sugar until well blended. Add eggs,
one at a time, beating well after each addition. Reduce the mixer's speed to medium-low and
beat in the molasses. Add the flour mixture and buttermilk alternately, beating until
incorporated, then beat on high speed just until well blended. Pour the batter over the pears.
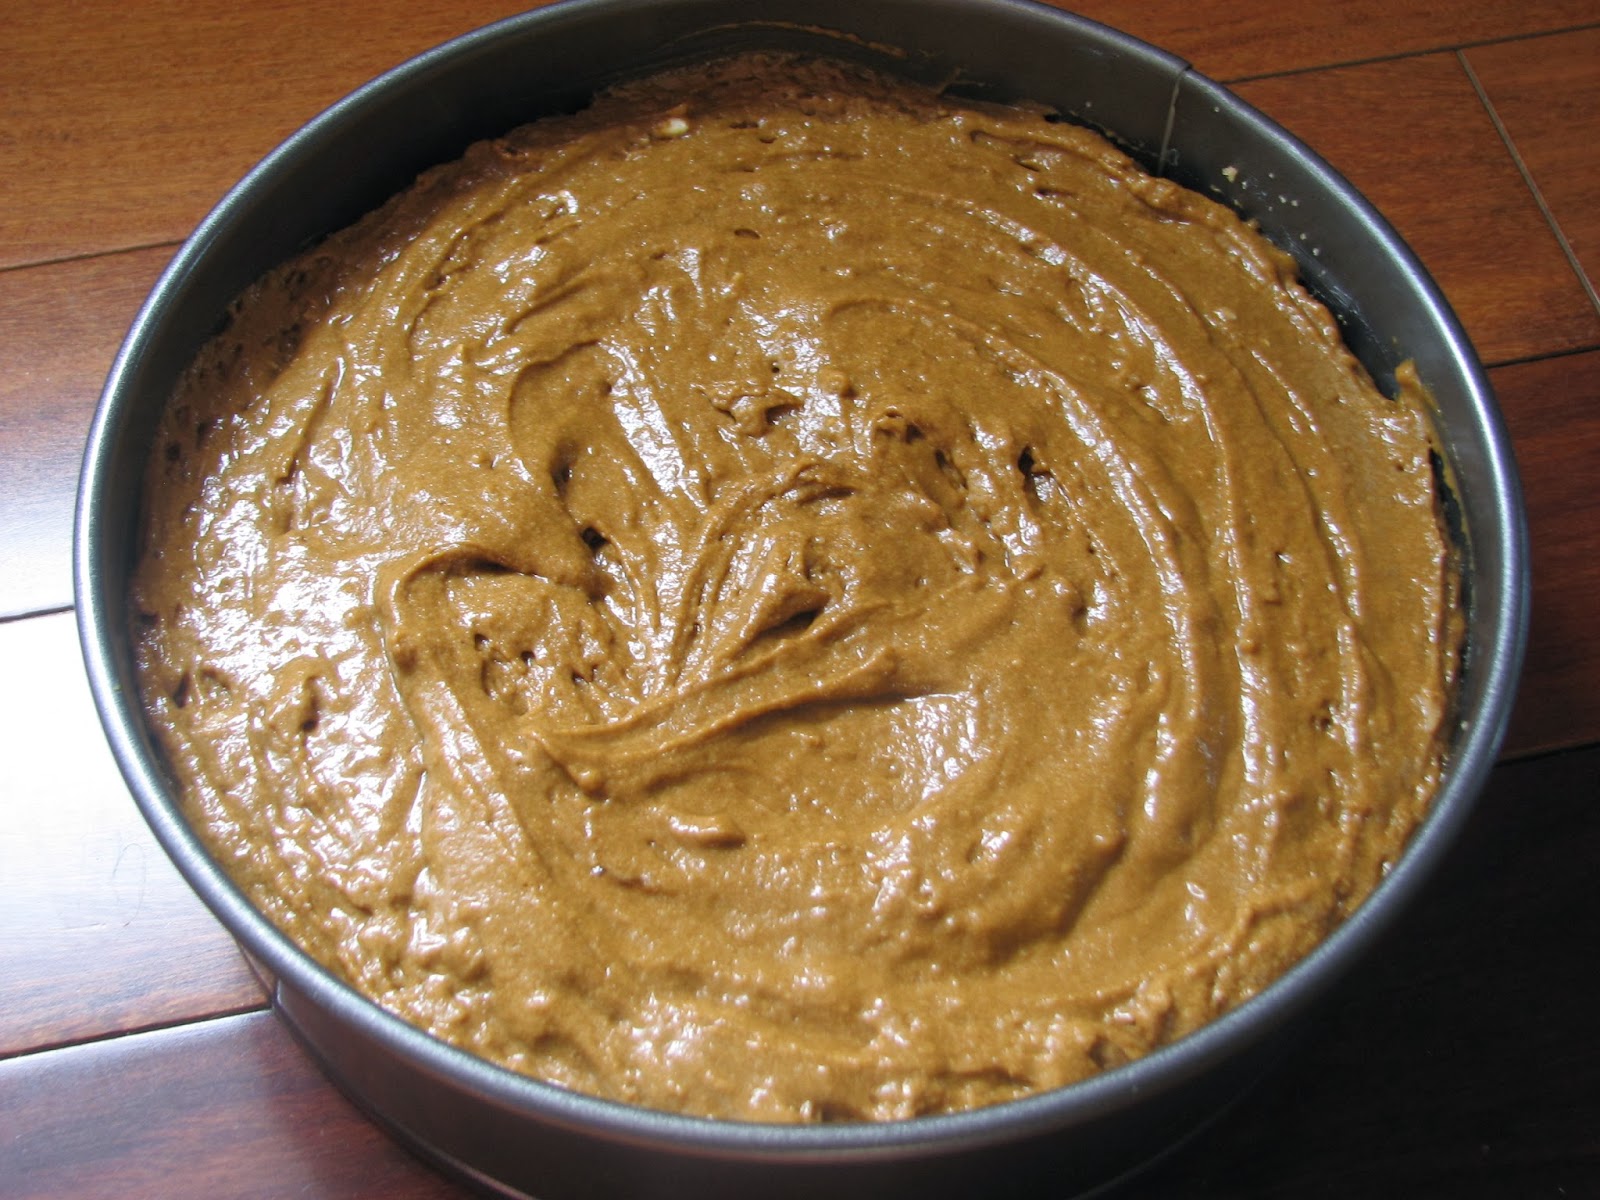
Bake in a 325° regular or 300° convection oven until a toothpick inserted in
center (not in fruit) comes out clean, 1 hour and 35 to 40 minutes (cake center
may settle slightly). Let the cake cool in pan on a rack for about 20 minutes, then remove the pan
sides. Invert a platter over cake, then, holding the two together, invert
again, so that the pears are on top. Carefully remove the pan bottom and parchment. Serve warm with lots of
lightly sweetened whipped cream.


